ふりかえり
前回はキャラクター画像にアニメーションを加えて、ゲームの表現力が一気にアップしました!
前回の投稿はこちら↓
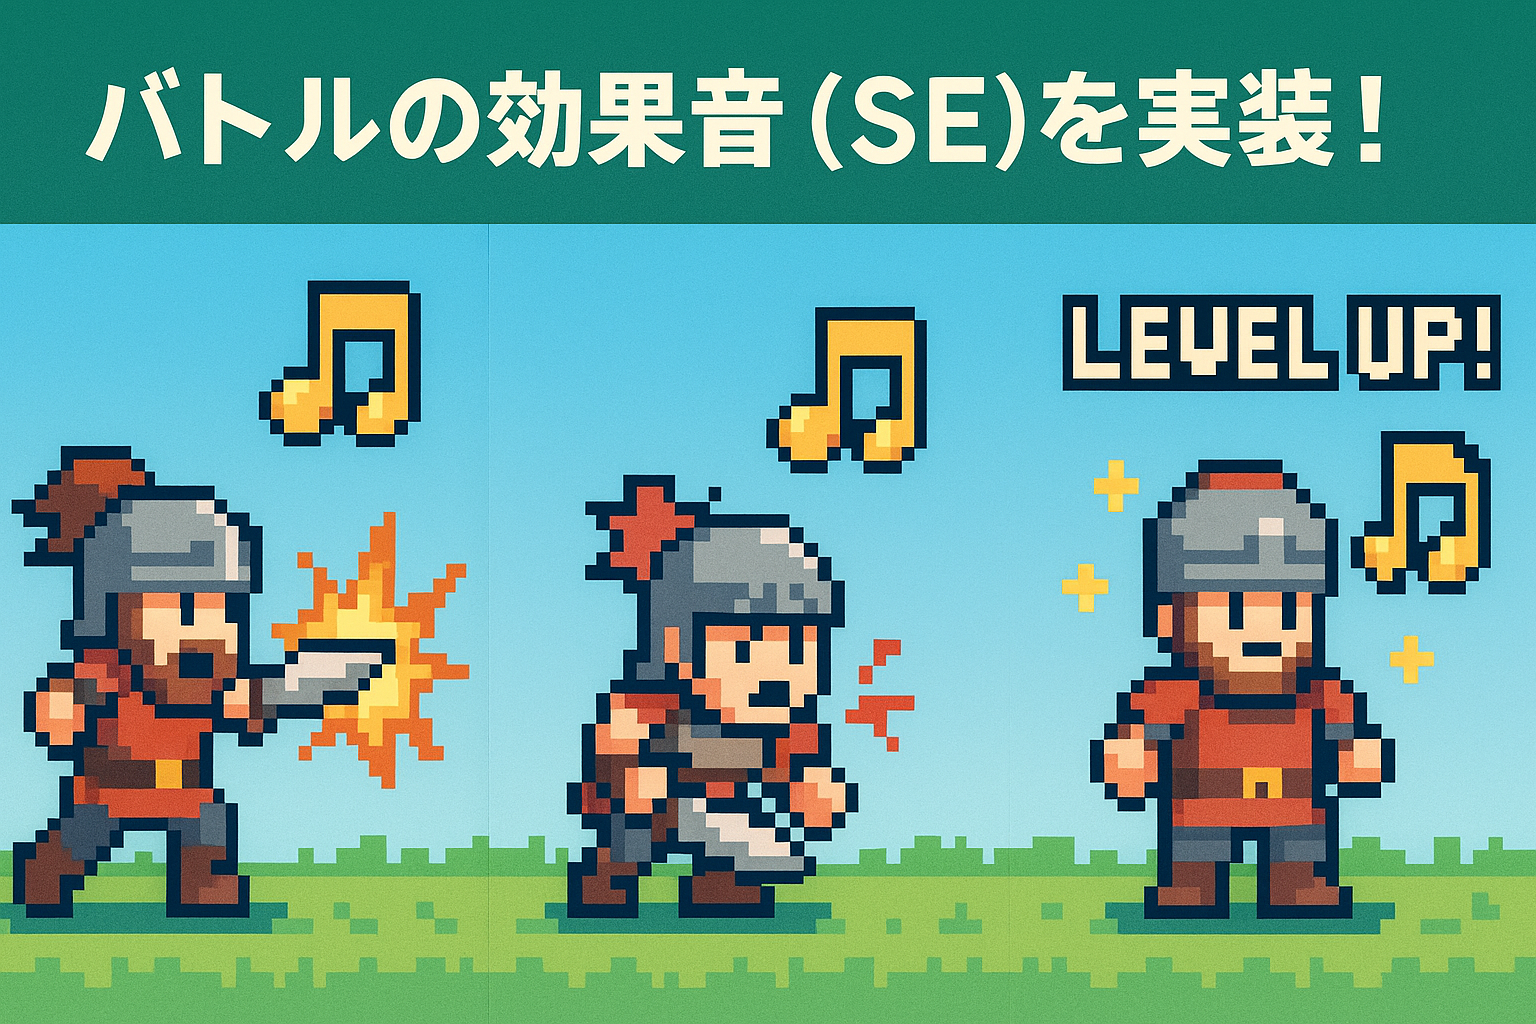
バトルの効果音(SE)を実装!
今回は、バトル中に再生されるSE(効果音)を実装していきます!
対象のアクションは以下の5つ:
- 攻撃
- ダメージを受けたとき
- 倒されたとき
- リスポーンしたとき
- レベルアップ時
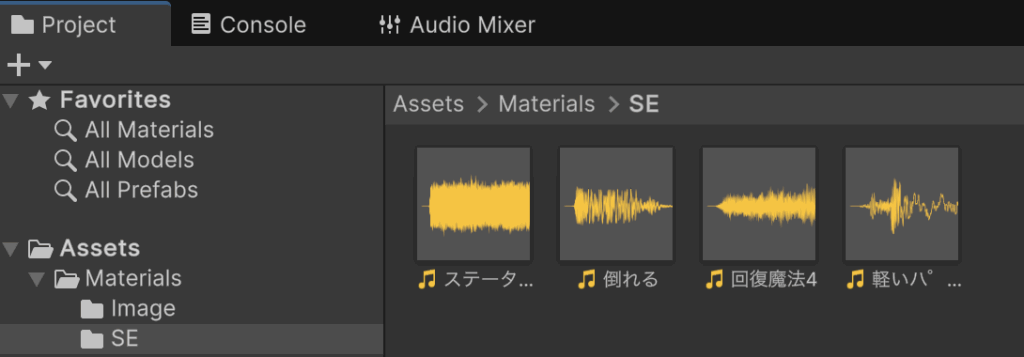
使用素材について
今回は効果音ラボ様のフリー素材を使用させていただきました。
高品質な効果音が多数あり、ゲーム制作にぴったりです!
今回は4種類のSEをダウンロードし、
Assets > Materials > SE フォルダに格納しました。
スクリプトの追加:AudioManager.cs
効果音(そして将来のBGM)をまとめて管理するためのスクリプトを作成します。
using UnityEngine;

public class AudioManager : MonoBehaviour
{
    [Header("SE Audio Sources")]
    public AudioSource attackAudioSource; // 攻撃SE用
    public AudioSource damageAudioSource; // ダメージSE用
    public AudioSource levelUpAudioSource; // レベルアップSE用
    public AudioSource deathAudioSource; // 死亡SE用
    public AudioSource respawnAudioSource; // リスポーンSE用

    [Header("SE Audio Clips")]
    public AudioClip attackSE; // 攻撃SE
    public AudioClip damageSE; // ダメージSE
    public AudioClip levelUpSE; // レベルアップSE
    public AudioClip deathSE; // 死亡SE
    public AudioClip respawnSE; // リスポーンSE

    [Header("Audio Settings")]
    public float volume = 1.0f; // 音量
    public float pitch = 1.0f; // ピッチ

    // 攻撃SEを再生
    public void PlayAttackSE()
    {
        if (attackSE != null && attackAudioSource != null)
        {
            attackAudioSource.clip = attackSE;
            attackAudioSource.Play();
            Debug.Log("攻撃SEを再生しました");
        }
    }

    // ダメージSEを再生
    public void PlayDamageSE()
    {
        if (damageSE != null && damageAudioSource != null)
        {
            damageAudioSource.clip = damageSE;
            damageAudioSource.Play();
            Debug.Log("ダメージSEを再生しました");
        }
    }

    // レベルアップSEを再生
    public void PlayLevelUpSE()
    {
        if (levelUpSE != null && levelUpAudioSource != null)
        {
            levelUpAudioSource.clip = levelUpSE;
            levelUpAudioSource.Play();
            Debug.Log("レベルアップSEを再生しました");
        }
    }

    // 死亡SEを再生
    public void PlayDeathSE()
    {
        if (deathSE != null && deathAudioSource != null)
        {
            deathAudioSource.clip = deathSE;
            deathAudioSource.Play();
            Debug.Log("死亡SEを再生しました");
        }
    }

    // リスポーンSEを再生
    public void PlayRespawnSE()
    {
        if (respawnSE != null && respawnAudioSource != null)
        {
            respawnAudioSource.clip = respawnSE;
            respawnAudioSource.Play();
            Debug.Log("リスポーンSEを再生しました");
        }
    }

    // 音量を設定
    public void SetVolume(float newVolume)
    {
        volume = Mathf.Clamp01(newVolume);
        UpdateAllAudioSourcesVolume();
    }

    // ピッチを設定
    public void SetPitch(float newPitch)
    {
        pitch = Mathf.Clamp(newPitch, 0.1f, 3.0f);
        UpdateAllAudioSourcesPitch();
    }

    // 全てのAudioSourceの音量を更新
    private void UpdateAllAudioSourcesVolume()
    {
        if (attackAudioSource != null) attackAudioSource.volume = volume;
        if (damageAudioSource != null) damageAudioSource.volume = volume;
        if (levelUpAudioSource != null) levelUpAudioSource.volume = volume;
        if (deathAudioSource != null) deathAudioSource.volume = volume;
        if (respawnAudioSource != null) respawnAudioSource.volume = volume;
    }

    // 全てのAudioSourceのピッチを更新
    private void UpdateAllAudioSourcesPitch()
    {
        if (attackAudioSource != null) attackAudioSource.pitch = pitch;
        if (damageAudioSource != null) damageAudioSource.pitch = pitch;
        if (levelUpAudioSource != null) levelUpAudioSource.pitch = pitch;
        if (deathAudioSource != null) deathAudioSource.pitch = pitch;
        if (respawnAudioSource != null) respawnAudioSource.pitch = pitch;
    }

    // Update is called once per frame
    void Update()
    {

    }
}
AnimationManager.csへの統合
次に、AnimationManager.cs に AudioManager を参照するフィールドを追加し、
それぞれのアニメーション再生時にSEを鳴らす処理を加えます。
例:PlayerAttackAnimation() の修正
    // プレイヤーの攻撃アニメーション
    public void PlayerAttackAnimation()
    {
        if (playerTransform != null)
        {
            // 攻撃SEを再生
            if (audioManager != null)
            {
                audioManager.PlayAttackSE();
            }

            // プレイヤーを敵の方向に少し移動させる
            playerTransform.DOMove(playerTransform.position + Vector3.right * attackDistance, attackDuration / 2)
                .SetEase(Ease.OutQuad)
                .OnComplete(() =>
                {
                    // 元の位置に戻る
                    playerTransform.DOMove(playerTransform.position - Vector3.right * attackDistance, attackDuration / 2)
                        .SetEase(Ease.InQuad);
                });
        }
    }
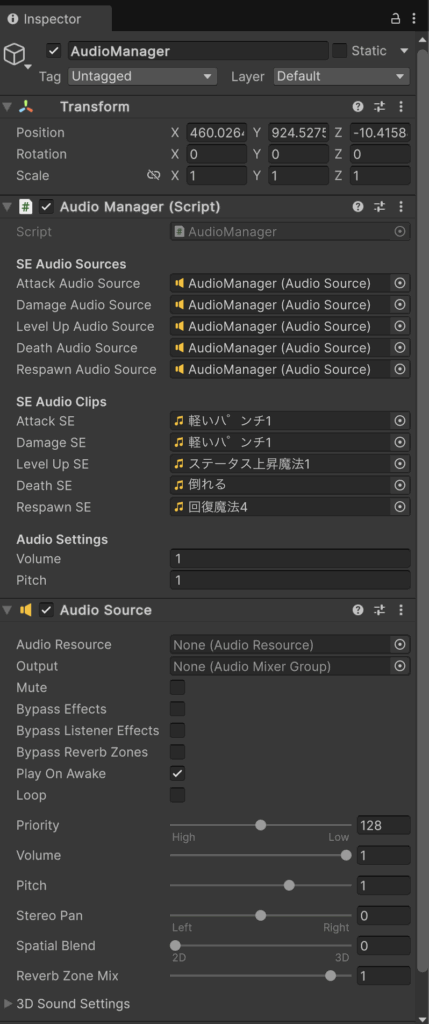
Unityでの設定
- 新しいGameObjectを作成し「AudioManager」と命名
- AudioManager.cs をアタッチ
- [Add Component] > Audio Source を追加(1つでOK)
- Audio Sources に同じ Audio Source を全ての欄にアタッチ
- SE Audio Clips に効果音ラボ様からダウンロードしたSEをそれぞれ設定
- AnimationManager の Inspector に AudioManager をアタッチ
動作確認
ゲームを開始して攻撃すると、SEが再生されるのを確認できます!
アニメーション+音で、バトルの臨場感が一気にアップしました!
(※今回の動画では音が鳴らない不具合があります。原因が判明し次第、差し替え予定です)
まとめ
今回は、バトル中のSE(効果音)を実装しました!
音があるだけで、バトルの迫力が大きく変わりますね!
次回予告
次回は、ステージを実装していきます!お楽しみに!


コメント